10 Google Maps Features That Completely Change How You Travel (Most People Still Miss These) Parvesh Sandila / February 1, 2026
Google Redefines Search: Personal Intelligence, AI Mode & Gemini 3 – A New Era of Smarter Search Parvesh Sandila / January 27, 2026
7 Best AI Prompts for Stunning Images in 2026: Your Complete Guide Parvesh Sandila / January 18, 2026
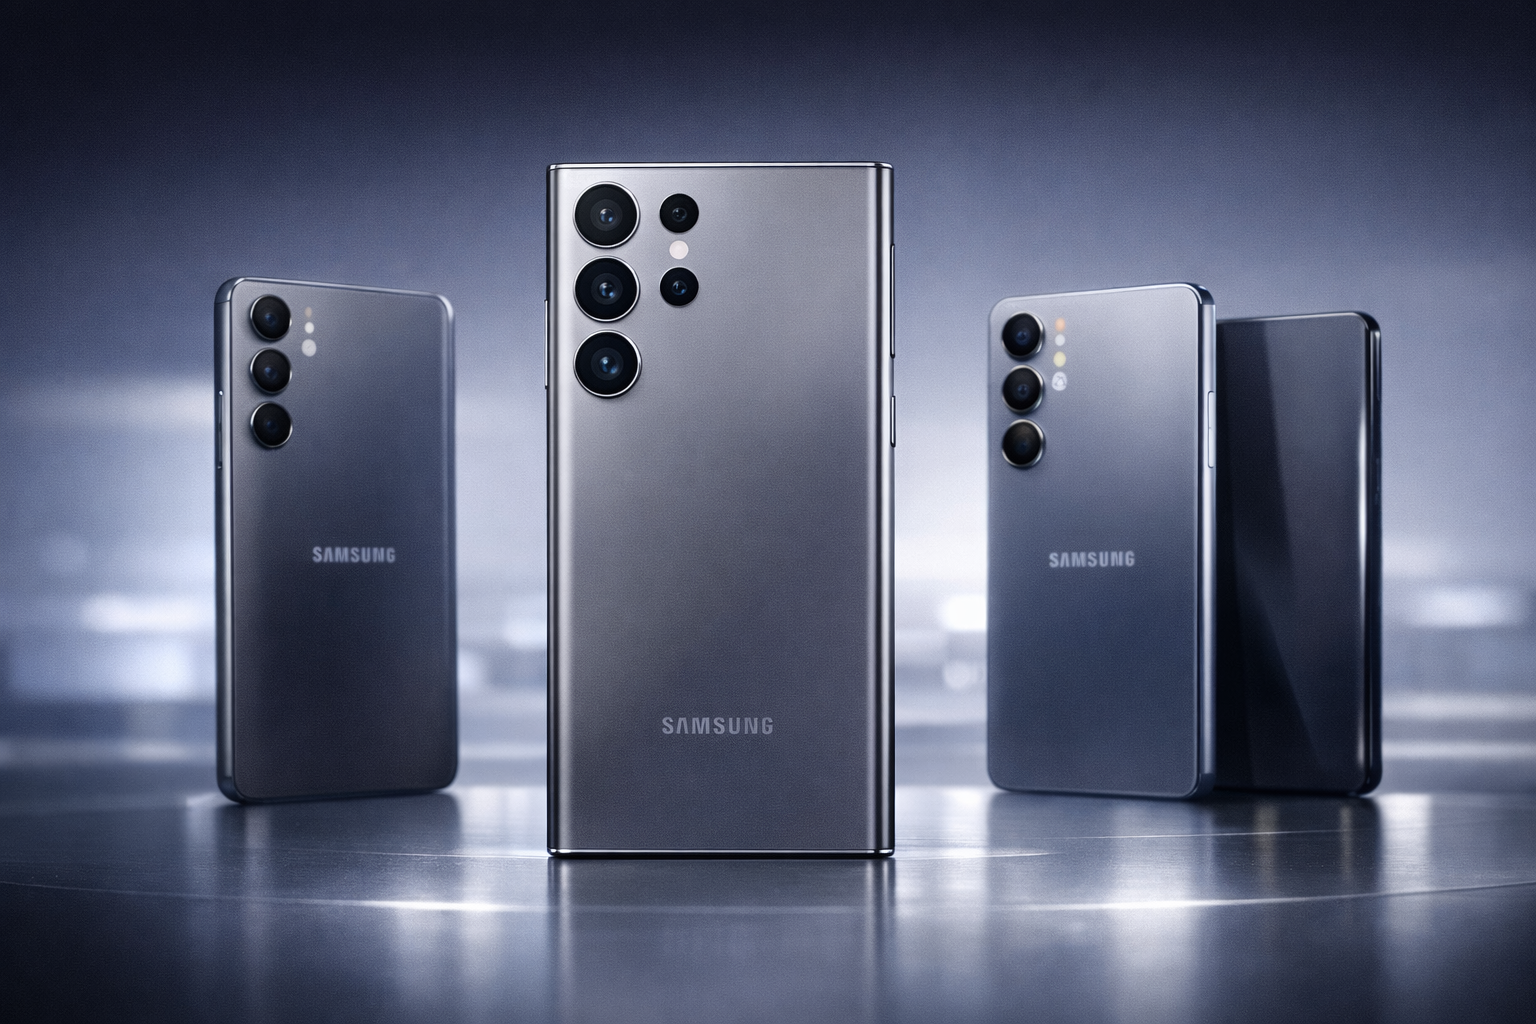
Samsung Galaxy S26 Series: Release Date, Price Concerns, Performance Leaks & Galaxy A-Series Updates Parvesh Sandila / January 13, 2026
Apple Vision Pro Stumbles: Sales, Strategy, and a Reality Check for Spatial Computing Parvesh Sandila / January 3, 2026
Why Cursor’s CEO Warns Against Vibe Coding and What It Means for the Future of Software Development Parvesh Sandila / December 30, 2025
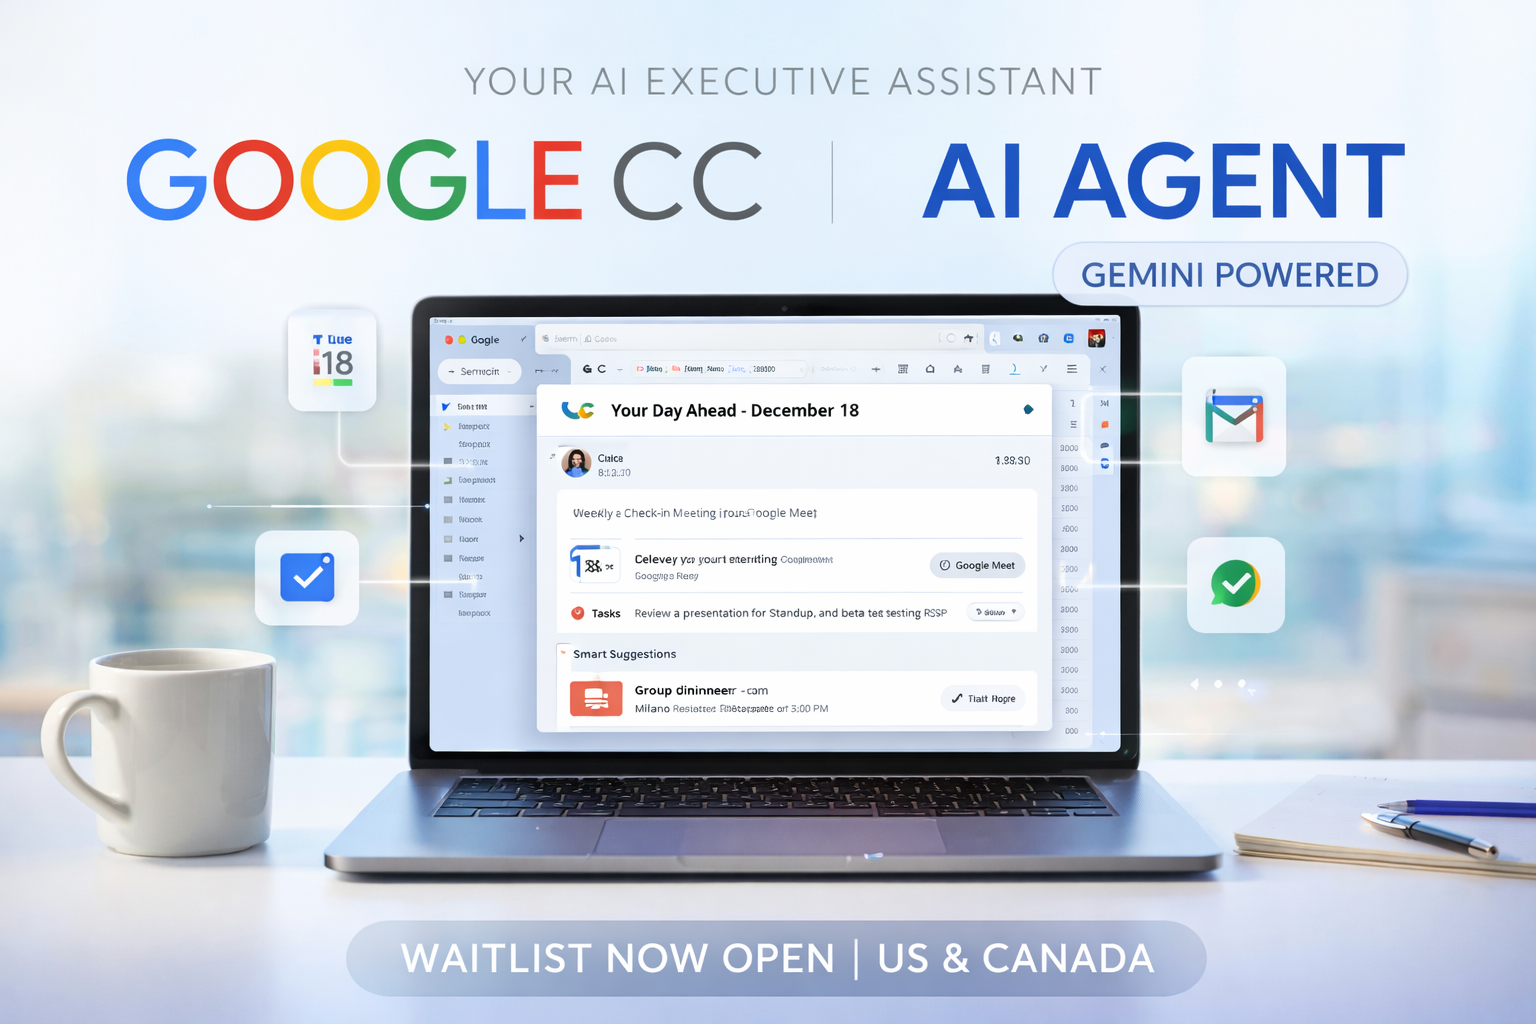
Google CC: The AI Agent That Reads Your Mind (and Your Inbox) Every Morning Parvesh Sandila / December 19, 2025