Chatbots have evolved from simple keyword matchers to intelligent assistants powered by Large Language Models (LLMs). With APIs from OpenAI (like GPT-4) and Anthropic (like Claude), anyone can now build conversational experiences that feel natural, contextual, and useful.
Page Contents
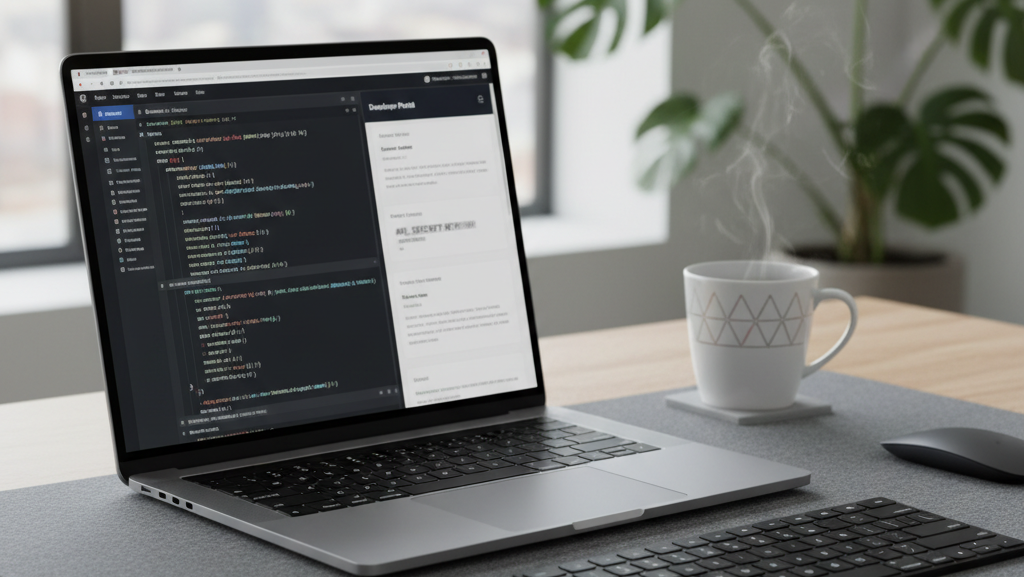
In this tutorial, we’ll walk you through how to build a simple chatbot using either OpenAI or Anthropic APIs — step-by-step. Whether you’re a developer prototyping your first AI tool or a product designer exploring conversational UX, this guide will get you started fast.
Step 1: Set Up Your Development Environment
Before coding, make sure you have:
Step 2: Get Your API Key
- Go to the official API dashboard of your chosen provider:
- Generate a new API key.
- Save it securely (e.g., in a
.envfile).
Pro Tip: Never share your API key publicly. Treat it like a password.
Step 3: Create Your Chatbot Script
Let’s start with Python for simplicity.
Example (OpenAI API)
from openai import OpenAI
import os

# Load API key
client = OpenAI(api_key=os.getenv("OPENAI_API_KEY"))

def chat_with_gpt(prompt):
    response = client.chat.completions.create(
        model="gpt-4-turbo",
        messages=[{"role": "user", "content": prompt}]
    )
    return response.choices[0].message.content

while True:
    user_input = input("You: ")
    if user_input.lower() in ["exit", "quit"]:
        break
    reply = chat_with_gpt(user_input)
    print("Bot:", reply)
Step 4: Add Conversation Context
Real chatbots remember the flow of conversation. You can achieve this by maintaining a list of chat histories.
history = []

def chat_with_memory(prompt):
    history.append({"role": "user", "content": prompt})
    response = client.chat.completions.create(
        model="gpt-4-turbo",
        messages=history
    )
    message = response.choices[0].message.content
    history.append({"role": "assistant", "content": message})
    return message
This ensures your chatbot remembers past messages and responds contextually.

Step 5: Enhance the User Interface
You can create a basic web UI using Flask (Python) or React.js for real-time chat.
For example, a simple Flask route can expose your chatbot as an API endpoint:
from flask import Flask, request, jsonify
app = Flask(__name__)

@app.route("/chat", methods=["POST"])
def chat():
    data = request.get_json()
    prompt = data.get("prompt")
    reply = chat_with_memory(prompt)
    return jsonify({"response": reply})
Then, connect it to a front-end using fetch or axios in JavaScript.
Step 6: Add Personality or Role
You can give your chatbot a role or tone by defining a “system” message at the beginning of your conversation.
history = [{"role": "system", "content": "You are a friendly, helpful customer support assistant."}]
This small tweak can completely change how your chatbot responds — formal, funny, technical, or empathetic.
Step 7: Test, Deploy, and Improve
You can now:
- Deploy your chatbot to Render, Vercel, or Firebase Hosting
- Track logs to analyse performance
- Experiment with temperature, max tokens, and model versions for optimal results
Conclusion
And that’s it, you’ve built your very first chatbot using OpenAI or Anthropic APIs! 🎉
While this is a simple starting point, you can extend it to handle:
- Real-time chat interfaces
- Knowledge-base integration (RAG)
- Voice input/output
- Multi-user sessions
The power of modern LLMs lies not just in responding, but in understanding, remembering, and adapting. With this foundation, you can create tools that truly feel intelligent.

Parvesh Sandila is a results-driven tech professional with 8+ years of experience in web and mobile development, leadership, and emerging technologies.
After completing his Master’s in Computer Applications (MCA), he began his journey as a programming mentor, guiding 100+ students and helping them build strong foundations in coding. In 2019, he founded Owlbuddy.com, a platform dedicated to providing free, high-quality programming tutorials for aspiring developers.
He then transitioned into a full-time programmer, where his hands-on expertise and problem-solving skills led him to grow into a Team Lead and Technical Project Manager, successfully delivering scalable web and mobile solutions. Today, he works with advanced technologies such as AI systems, RAG architectures, and modern digital solutions, while also collaborating through a strategic partnership with Technobae (UK) to build next-generation products.